
I made this tile for an article for Scrapbook News and Review. The point of the article was to show how stamps could be used off the page. Such great little tools, our stamps are, and if we can make them even more useful- well, it just helps justify the expense, huh?
This tile was a breeze to make, and turned out so cool. To do this, or stamp on ceramic or glass, just follow these basic steps:
-Clean the surface before stamping.
-Using a watermark ink, stamp your images.
-Apply embossing powder in the color of your choice. Tap off excess. Tip: use a small paintbrush to help chase away even the tiniest of stray powder specks.
-Using heat gun, start heating powder. KEpp in mind, this part takes considerably longer than embossing on paper. Just keep heating, it will emboss.
Voila! Easy, peasy and oh so fun! Now, picture this, only with 4" ceramic tiles. Add a little cork to the back, and you have a set of coasters for a great Christmas Present.
Tuesday, October 27, 2009
Embossed Tile


Thursday, October 15, 2009
Cute As A Button
For this frame, I used the adorable 3 Bugs line: Snips and Snails. The image is from Stamping Bella.
To make the Button Filled B:
1. Use a scrap piece of chipboard from packaging to create the letter B.
2. Gather your buttons, and place them on the B as desired.
3. Use Glossy Accents to adhere the buttons to the B.
4. Fll in between the buttons using Glossy Accents.
Done, and easy-peasy.

Thursday, June 4, 2009
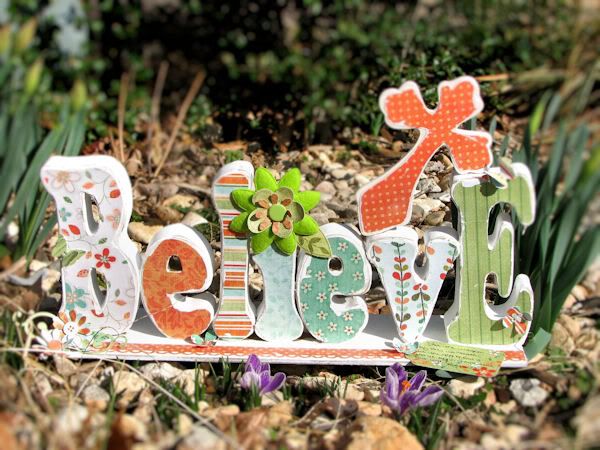
Believe
My favorite holiday is Christmas. I love the decorations, the carols, the gifts...and of course the meaning! Care's favorite holiday is Easter. She gets so excited every year...and for her it is all about the meaning. This is a child of God who is thankful for Grace!!
This year, I decided she needed an Easter decoration. She was thrilled...yeah, ok- one of the reasons she loves Easter is that there are no decorations. But, she did like this one, so I was happy.
This features the new Blossoms and Blooms line from My Minds Eye. I love the colors in that one.
Thursday, December 11, 2008
Acrylic Frame
Ready for a really simple project? And this one is really fun, too!! I took a simple piece of acrylic from HL, and stamped snowflakes all over it in Stayzon White. Then I glittered the heck out of it...all the edges have glue literally poured on and running down the sides...then glitter over that. Then, I pieced a very simple felt snowman...too cute!!

Tuesday, December 9, 2008
Noel Wall Hanging
Still in the Christmas mood, here. And, still loving that BG Wassail!! I Tell you, my Christmas decorations are a walk though BG's Christmas inventory, lol!! They are just my favorites.
This wall hanging is a combination of a noel letter set from Plaid, and an old picture I had laying around. I decorated the inside of the frame. Then, I Modged each letter, and added goodies to the. A little hot glue, and voila!

Saturday, December 6, 2008
The Rest of the Story...
This post is a hodge podge...all the rest of the tree I wanted to show you. Hang on, here we go!!
Silhouette Ornaments:
Well, I had to use my new toys, lol! So, I broke out the Silhouette and started cutting Christmas images. Then, I used my new Janome Sew Mini..and added a great zig zag border. There are 6 of these ornaments, so far...some with words, some with manger/advent scenes. The scenes didn't photo as well- so I'm showing you a couple of the words..
Star Ornaments:
This is the star ornament I showed you a week or so ago...thought you might want to see it on the tree. BTW- I did do a couple with the Wassail- and they look awesome!!
Tree Topper:
Showed you this last year...but I seriously overhauled it. What do you think?
So, thats it...thats the tree. Hope you've enjoyed your peek! I'll show you the whole thing put together, one more time:
BTW- the garland was cut with my Silhouette- it is a repeating message of Jesus Loves Me- with nativity scenes interspersed. It is the true REASON for the season, right?!


Friday, December 5, 2008
Advent Ornaments
We have our Advent Countdown on our tree...in the form of ornaments. I showed you these, last year...but they got a major sprucing up, so I thought I would show you again, this year.
Each ornament is a pocket, and inside is a tag. We have chosen to write of favorite Scripture verses on these...but they could easily include the Christmas story...or even treasured family memories.
Here's another in the background of this picture:


Thursday, December 4, 2008
Wooden Ornaments
I picked up this set at M's for like a dollar an ornament. I love them! Simple Modge Podge and embellishments make these treasures on my tree. I know all the craft stores have these in different shapes...I got 2 each of stars, birds, birdhouses, bells, trees, and hearts.
Here's a bell:


Wednesday, December 3, 2008
Family Ornaments
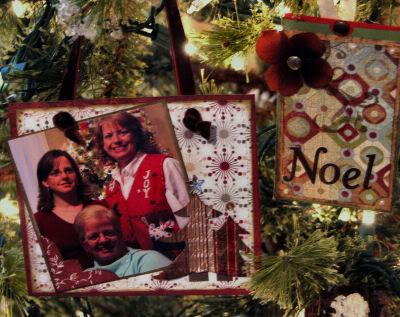
This whole tree started by wanting to display our family memories on the tree. I had the idea to collect the pictures from Christmas' past and display them every year as part of our living history. So, every year, pictures are taken, ornaments are made...and memories are enjoyed! Fun!! This ornament is new this year...the picture was last Christmas Eve. I love the velvet ribbon, and the BG Wassail--I have a thing for velvet...and Basic Grey, lol!!
Here's another peek at last Christmas...love the zig zag stitch- my new Janome Sew Mini, hehehe...

Tuesday, December 2, 2008
Coaster Ornament
Welcome to Day 2 of "I Altered My Christmas Tree". Ready for our first ornament? This is a coaster ornament that I made...found the chipboard coasters at M's on sale. I think the pack was 50 cents or something. Here are the steps:
1. Trace shape unto paper, use scissors and cut. Adhere to coaster using Modge Podge. Do not apply top coat, yet.
2. Once dry, use your files to smooth the edges. Now is the time to add any ink or distressing to the edges that you want. Now, add the top layer of Modge podge.
3. Now, you can add the top embellishments. I handmade this flower, by tracing a silk poinsettia. Tip: Fold and curl the edges of your paper to add dimension and life to anything like this! The Joy plaque is a wonderful journaling stamp from Apple Blossom Studio...love this set. Just look at all the fun uses!
4. Hole was punched using my crop o dile...if you don't have one, this is actually on sale TODAY at Scrapbook Express!! Run on over and snag one!
Here's a look at the other I made:


Monday, December 1, 2008
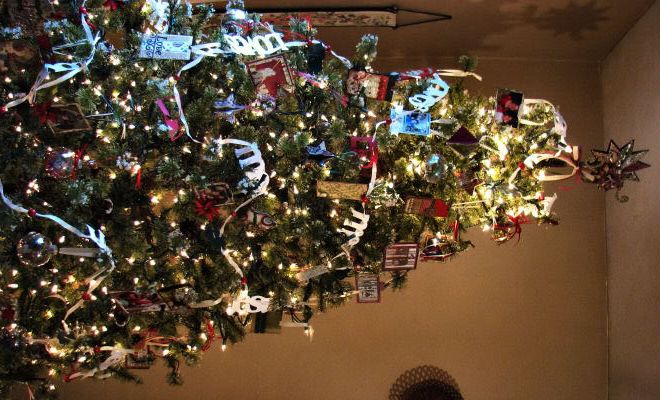
I altered my Christmas Tree- Year 2
Some of you might remember that last year, I decided to alter my Christmas tree. Well, ok- not the actual tree, itself. But, I handmade everything- and I mean ev-er-y-th-ing on it. All of the ornaments, the garland...even the tree topper.
Well, this year I have added to it, revised it, updated it...and it is time to share!! So, welcome to this year's version. I will show you a peak today, then everyday this week, I will show you a specific part. This will be a week filled with fun ideas, tips, tricks, a tutorial, pretties...and maybe a few things you want to try yourself. Be sure to keep stopping by!
So, here's your peek for today:
And, here's a tease for the rest of the week:

Tuesday, November 25, 2008
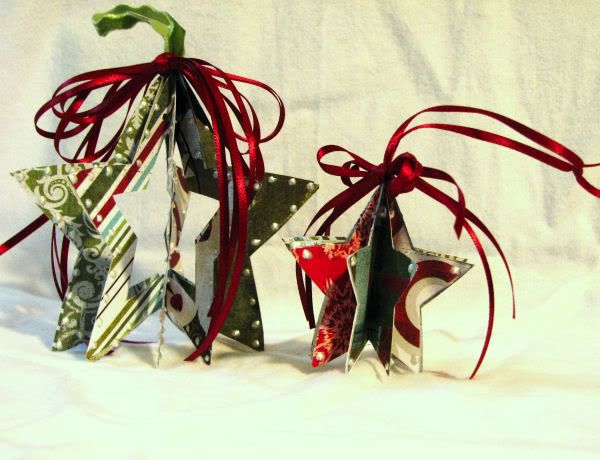
Star Ornaments
I saw this on Jennifer McGuire's blog, I think it was...loved it! Ended up doing this for Scrapbook Express- so easy. It is just 8 stars stuck together. How simple is that!! And, doesn't the Basic Grey look incredible!!
Thursday, October 16, 2008
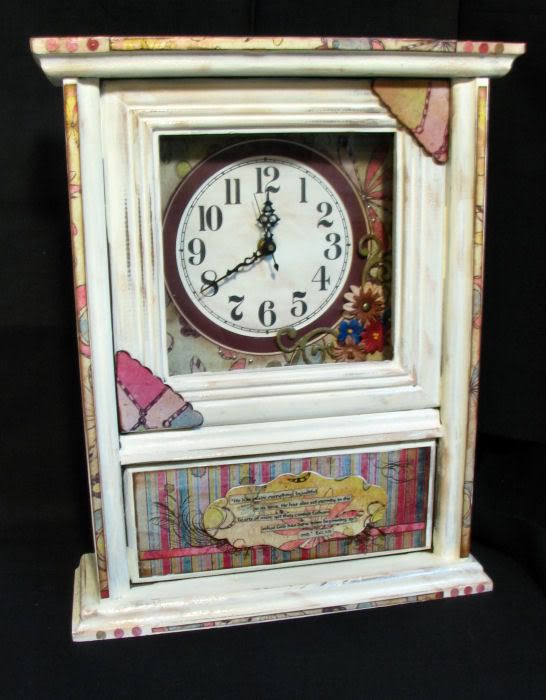
Fancy Pant-sy Clock
It's been a while since I've shown you anything altered. So, what do you think of my 50 cent clock? I found this at a garage sale...and paid all of 50 cents for it. Then I painted it, added a bunch of Fancy Pants goodness to it...and voila- a Fancy Pant-sy Clock!! I love this line of papers- don't you?! You can get them over at Scrapbook Express!
Monday, September 8, 2008
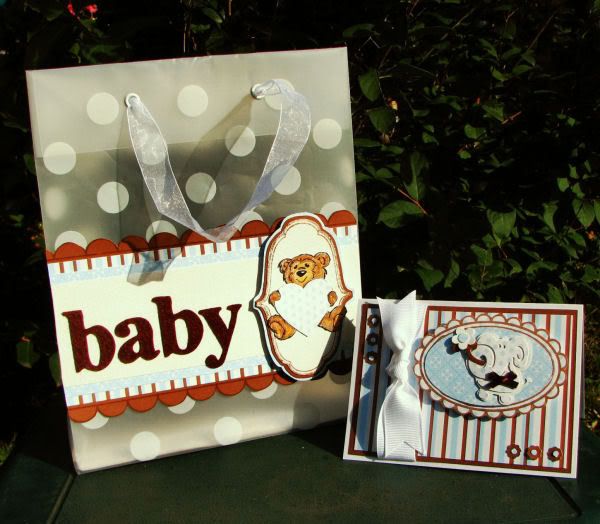
Baby Gift Set
One of the parents in our program had a new baby boy, and I got to decorate the gift set...yeah me! I love decorating baby things- so fun and whimsical!! Anyway- I had to use my Apple Blossom Studio stamps for this- too fun! I tell you what, if I had to defend one stamp with my life, it would be that long scallop border! I love that thing- I have used it so many times. Of course, the awesome journal spots are so handy, too. I just love mixing and matching these stamps on projects. They really are so fun to use. If you have not checked them out yet...you really need to pop over and have a look!
Apple Blossom Studios Stamps
Saturday, August 23, 2008
Gift Bag

A dear friend went in for surgery a couple of weeks ago- yes, she's fine...but, I made this as part of the gift. Love the way this bag turned out! The window is simply the saved packaging from a misc product...I love saving the clamshells!! The paper is all from a K&Co paper pad, and this was definitely one of my favorite pads. I think I used almost every page! Have a great weekend!!
Tuesday, August 5, 2008
Count on Me
This month, the Design Team at Scrapbook Express is working with 7 Gypsies...how lucky are we?! I made this envelope album into a counting book for my kids. Each page has a number, in each envelope is that number of items to count...held together with the 7 gypsies metal binding ring. So the children can easily hold and count each item. Each page is also accented with the 7 gypsies Nottinghill Paper Clips--how perfect!!
The paper used for this project is the Nottinghill Collection and the Kaiser Jade's Garden Collection. I also used Basic Grey Number Pile, and a bunch of other yummies from the store.
Anyway, I am not an author, but here is the text:
Out for a walk and what do we see... one little elephant wants to walk with me!
One little elephant knows just what to do...grabs his monkey friends, 1 and two.
Two little monkeys, silly as can be...finds a few giraffes...1, 2, 3!
Three tall giraffes just want to join the fun...see 4 lions, so they run, run, run!
Four lion friends decide to play along, hear 5 frogs croak a little song.
5 croaking frogs look up in the air...see 6 buttleflies fluttering way up there.
Six pretty butterflies stop to take a rest, find 7 flowers, but like the red the best!
Seven happy flowers just growing in the sun, see 8 kittens having fun, fun, fun!
Eight playful kittens having a great time...came one more and then there were...9!
Nine hungry kittens looking for a treat find 10 yummies to eat, eat, eat!
Thursday, June 5, 2008
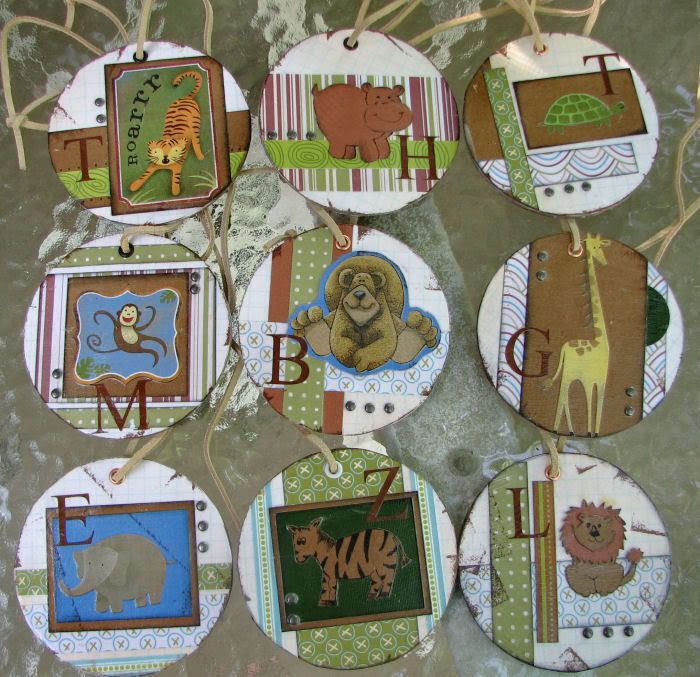
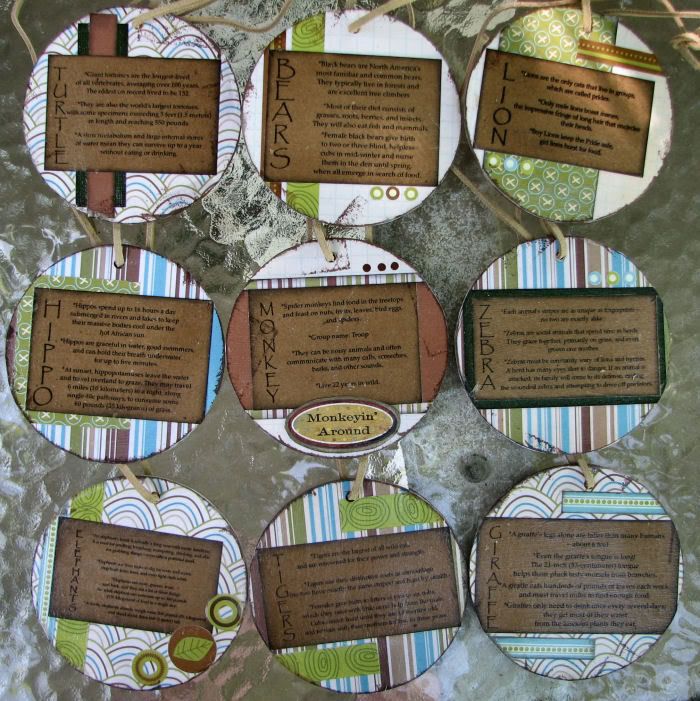
Zoo Fun!
The Design Team at Scrapbook Express is Featuring products from Scenic Route and Karen Foster Designs....oh, what fun to work with!!! Scenic Route is one of my all time favorite companies!! I made these badges for my kids before our field trip to the zzoo. Each child got one to wear, and they 'hunted' for that animal in the zoo. When we 'found' them, we read all the fun trivia on the back. The kids loved it!!
Monday, May 5, 2008
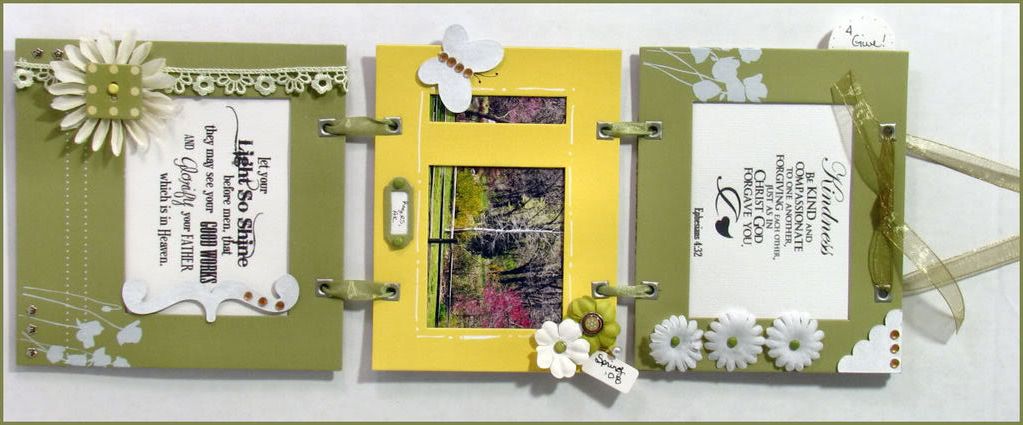
Swapp those Frames
Made these frames with the Heidi Swapp Easter Frame kit- what fun!! Heidi Swapp is one of our featured products for the month at Scrapbook Express. Be sure to stop by the gallery, and see what the Divas have been doing with it!!
Thursday, March 27, 2008
Spirit-ed Mini Album
This week's challenge at FaithSisters is sponsored by Making Memories. They very kindly sent us a wonderful package of goodies to work with- and are sponsoring an RAK for the winner of the challenge. Definitely come on over and join in- yo might even win!
For my album, I made an acrylic album, featuring our fur babies. You might recognize the Scripture:
Journaling: "Jesus said the if we love him, we will act like Him. He also promises that if we ask, He will help! Here is a verse from the Bible to remember: the fruit of the Spirit is... love, joy, peace, patience, goodness, kindness, gentleness, faithfulness, and self control. Against such things, there is no law, Gal 5:22"
Materials:
Patterned Paper, Ribbon, chipboard, tag frame,stickers, buttons,brads- Making Memories
Rhinestones- Target
Chipboard, letters: Spare Parts
Letters: KI Icicles
Ribbon: Ribbon FX, Basic Basic
Pearl: Crystal Stickers
Vellum: Hobby Lobby
Floss: DMC
Arrow: Heidi Swapp
Flowers: Target, silk
Misc: transparency, adhesive, ink, uniball roller

Tuesday, March 25, 2008
A Scooped Birdhouse
So how cute is this?! I have been dying to try this project - so over the weekend, I broke into my stash of new paper and gave it a go. I love the way it turned out- so spring-y and cheerful!!
Materials: Paper: 2 Scoops from Basic Grey
Flowers: Target, Silk
Brads, RicRac, Buttons: Making Memories
Bird: Imaginesce Stamp
Ribbon: Ribbon FX
Chipboard Swirl: Bazzill


